How to Add a New DNS Record to Cloudflare for a Subdomain
As you know, from my previous article, I decided to use the Cloudflare content delivery service with my blog site. I ended up going to my theme preview subdomain, trying to check the height of a theme’s header element.
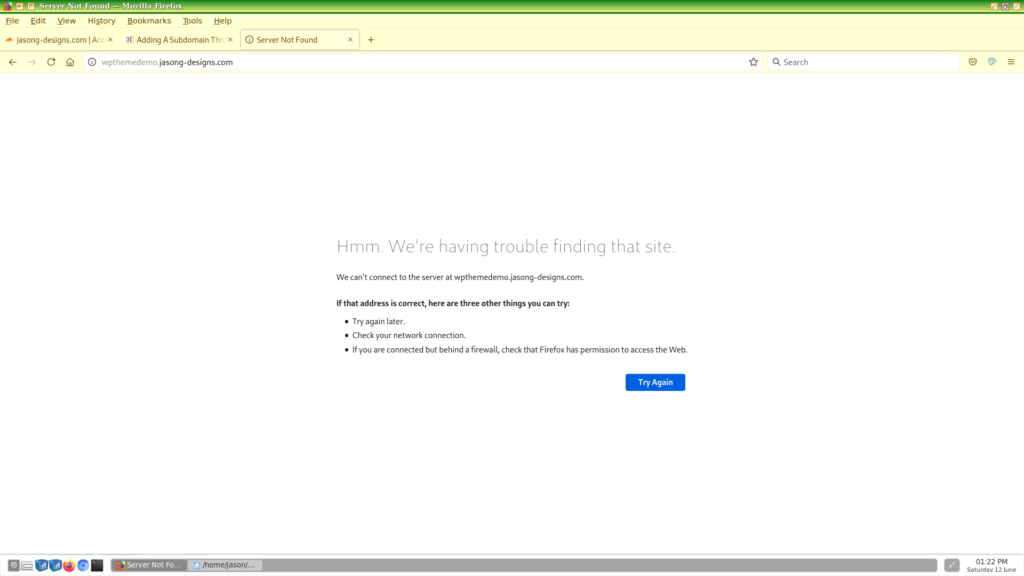
Anyway, when I went to the site, I was greeted with the following screen.
After thinking wait, what the…, I remembered that I just switched to Cloudflare to manage files and that it probably does not support subdomains out of the box.
After going around to several websites to figure out how to do it, I summarized it here. It is quite easy, too.
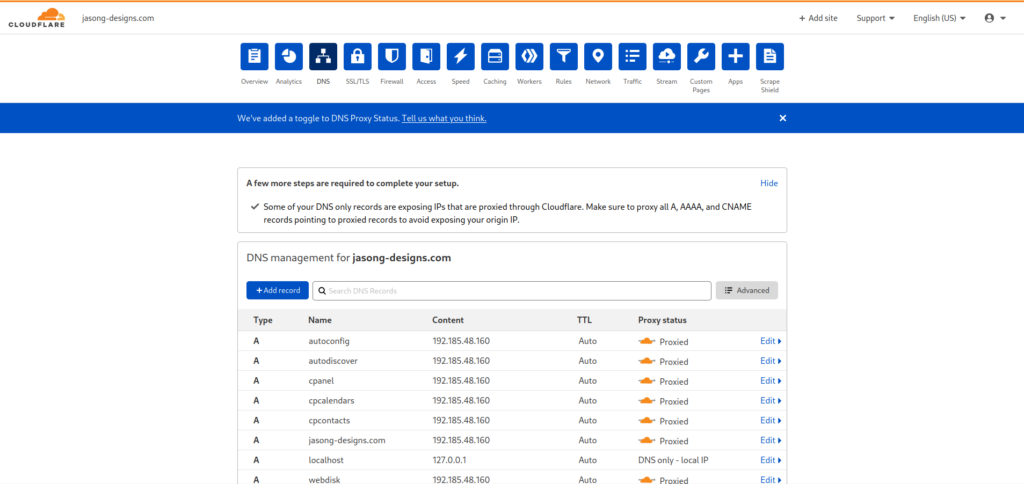
Step 1: Navigate to DNS tab in Cloudflare
In the DNS tab, click Add record
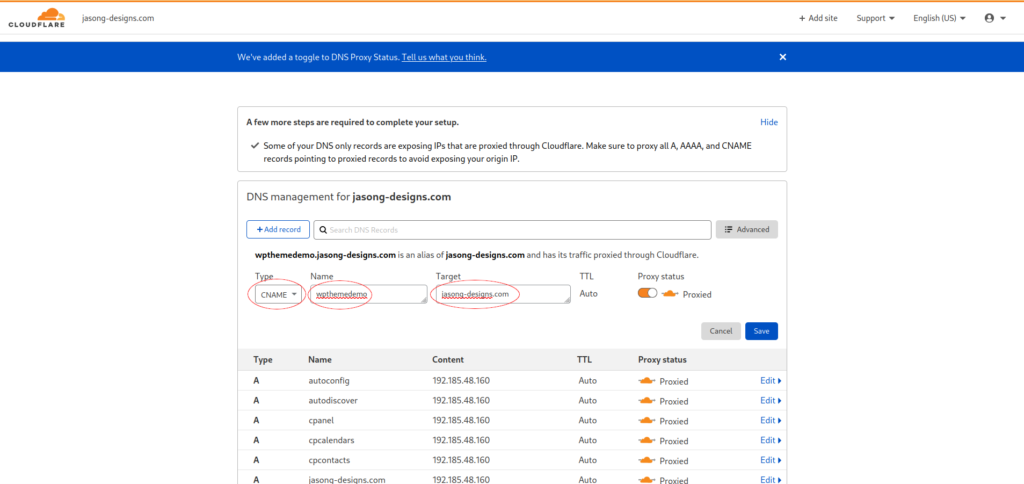
Step 2: Fill in Record Information
- Under Type, select CNAME
- Name would be the name of the subdomain without the full domain name. For me, it was wpthemedemo
- For Target, enter the name of your main domain. This was tripping me up at first, as I wasn’t seeing it as obvious and quite frankly, was afraid of making a mistake. The How To Add A Subdomain In Cloudflare article at NameHero helped explain it clearly
- After that, click Save
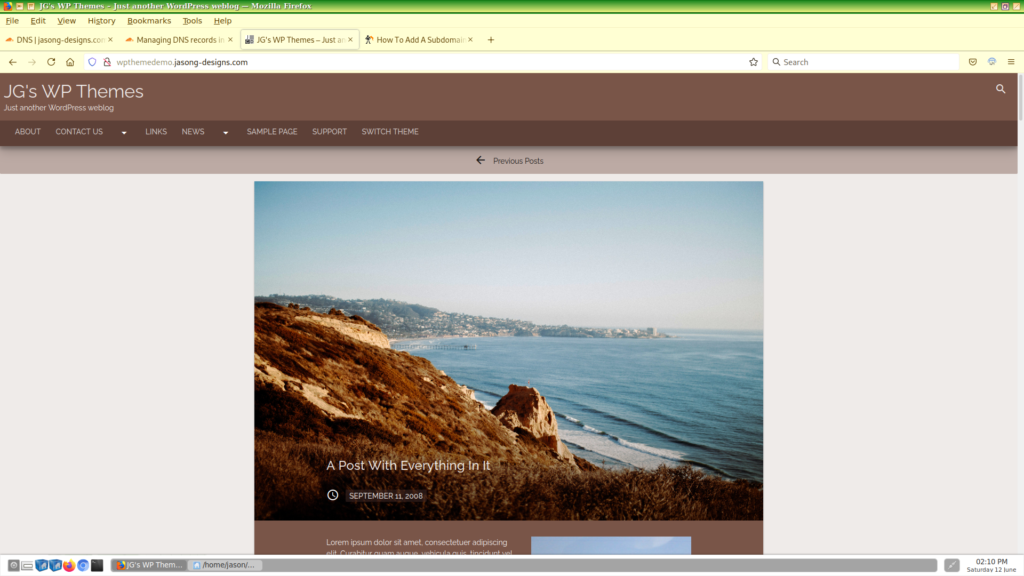
Step 3: Check out your Working Subdomain
After doing this process, the change was instantaneous. Refreshing the screen, the subdomain has been restored and likely has been sped up.
