Moving your Development Theme Outside of WordPress- Part 2
After a long hiatus, I started to update Mixin’ Styles- GB, fixing double borders on navigation menus and other CSS issues. My next step will be to get the theme’s custom fonts through WordPress’s built in font manager. I am putting together a future video tutorial for this.
Since this is a block theme, I also made changes to its theme.json file from within the editor. When you makes changes through the Site Editor, the entire site must be exported and packaged into a .zip file.
As I was clicking to extract the aforementioned .zip file, I got an error like the following: End-of-signal-directory signature not found…
After searching the issue, I tried making the upload file size larger in php and it didn’t change much. Then another source said to look in the theme’s error logs– debug.log. In that log, the PHP warnings were pointing to file size issues.
Then it dawned on me– I was working in a development version of the theme, but in the wp-content directory. So, the way the Editor’s Export works is that it zips up the theme’s folder and places it into a temporary directory before sending it to your operating system’s Downloads folder.
The development version of this theme includes npm scripts and the whopping node_modules folder. Obviously this exceeds WordPress’s file limit size. So, this tutorial will be an updated version of part one, Gulp: Moving your Development Theme Outside of WordPress.
The Setup
Just like in the previous tutorial, we will remove the theme’s parent folder from the wp-content directory. First though, switch to another theme, like Twenty Twenty Five.
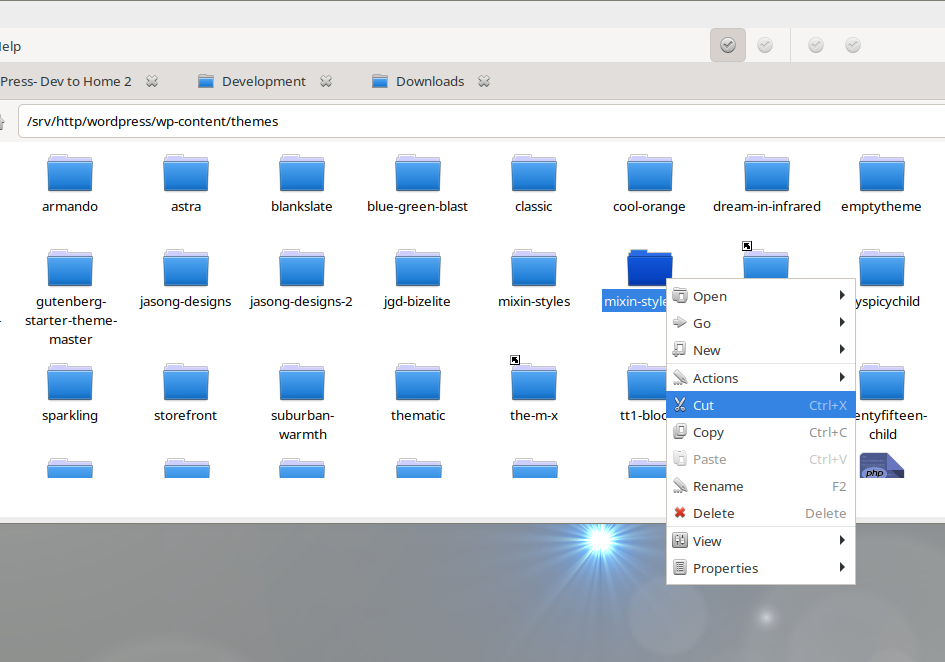
I Cut the theme folder and pasted into a Development folder on my computer. If you are trying this process and are having permissions issues, please the first tutorial of this one, as well as the Ubuntu Linux, Permissions and a Local WordPress Install article.
Creating a Symbolic Link
In the first version of this tutorial, we created a symbolic link to the wp-content folder, which we will do here as well.
First, create a /build folder within the pasted theme folder, then type the following in a terminal:
ln -s ~/Development/your-theme-name/build /document/root/wordpress/wp-content/themes/your-theme-nameIf you are following for one of your own themes, replace document/root with the path to your WordPress installation.
Building ‘Build’
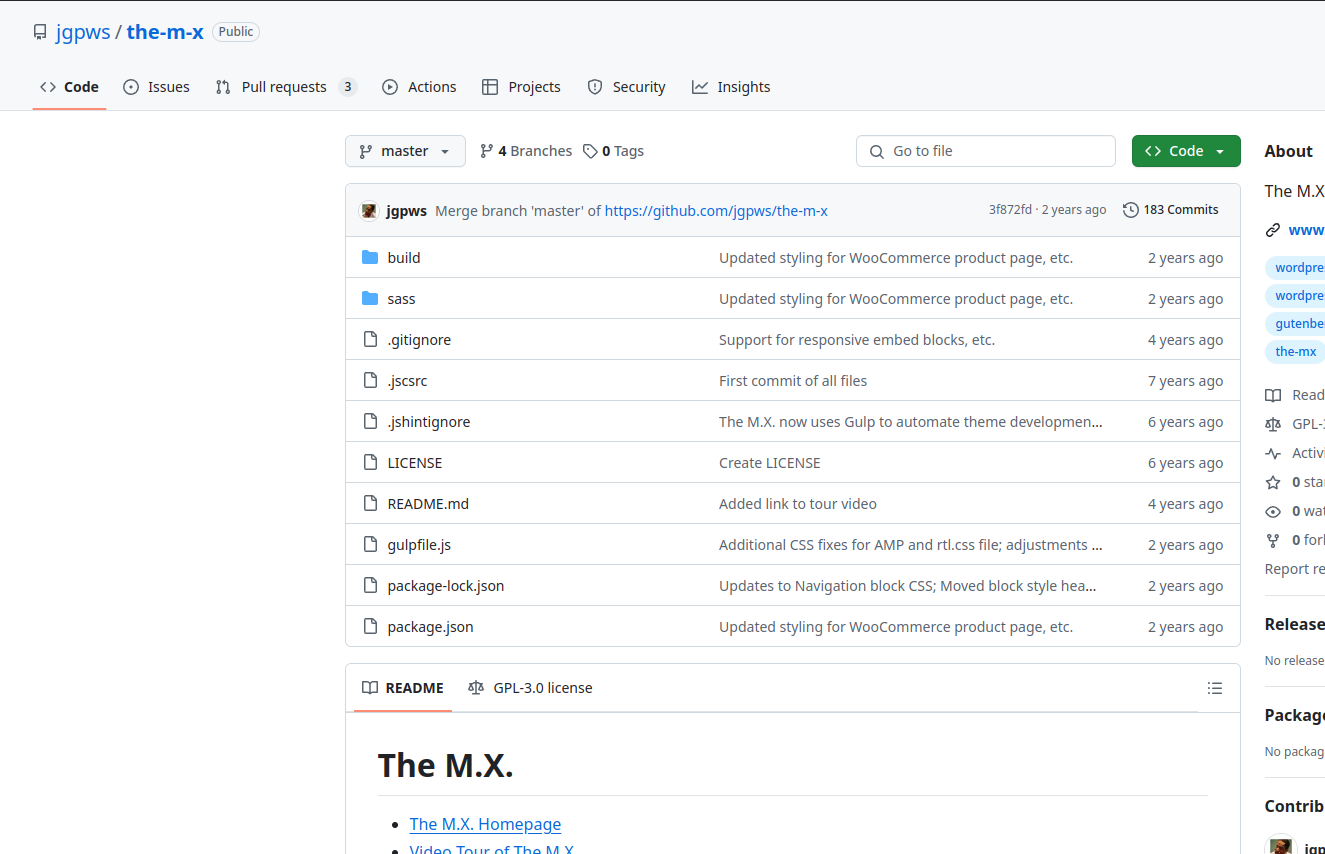
In the part one tutorial, we copied style.css into the build directory to test if the WordPress environment will see it. I questioned later, why have duplicates of the theme files instead of just working from the build folder itself. As a matter of fact, I changed the file structure for The M.X. theme referenced in the previous tutorial.
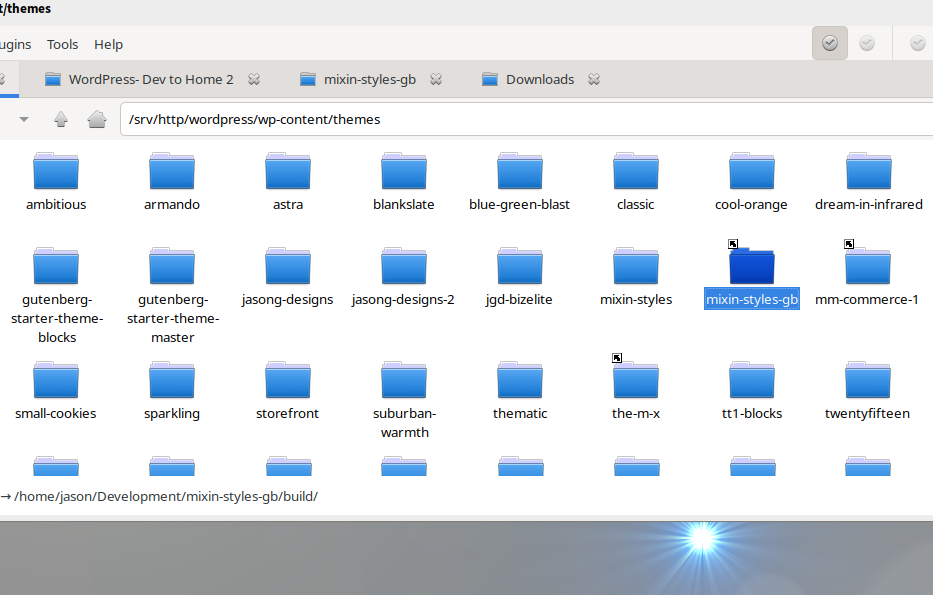
So, we will cut style.css from the parent folder and place it in the build folder. Refresh WordPress and you should see a broken theme message for your theme at the bottom.
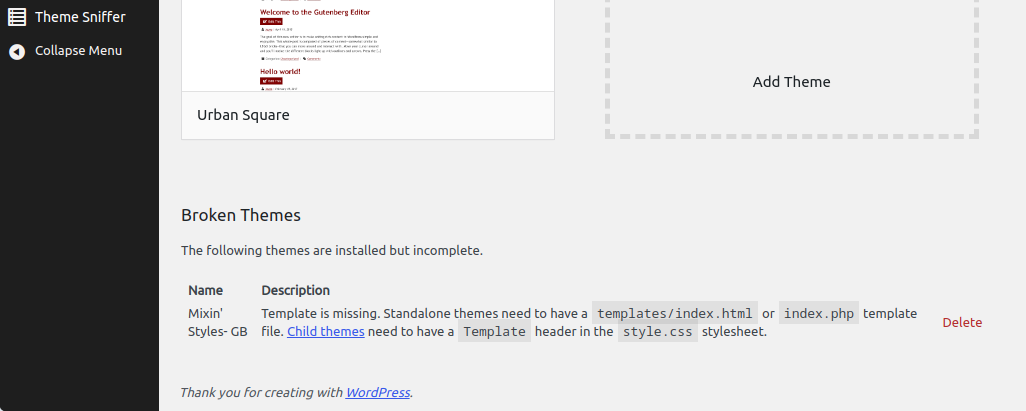
This means success– WordPress can see our build folder.
Move the Main Files and Folders
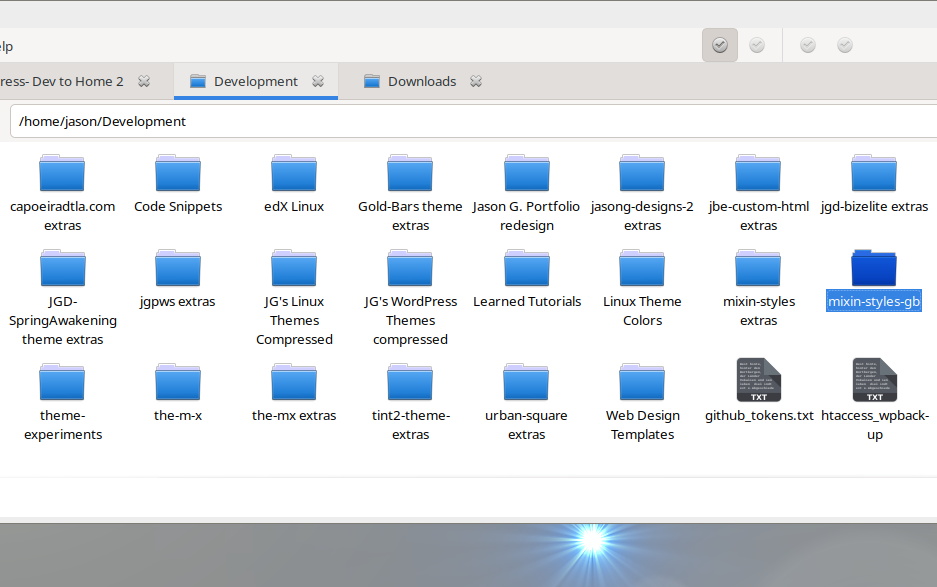
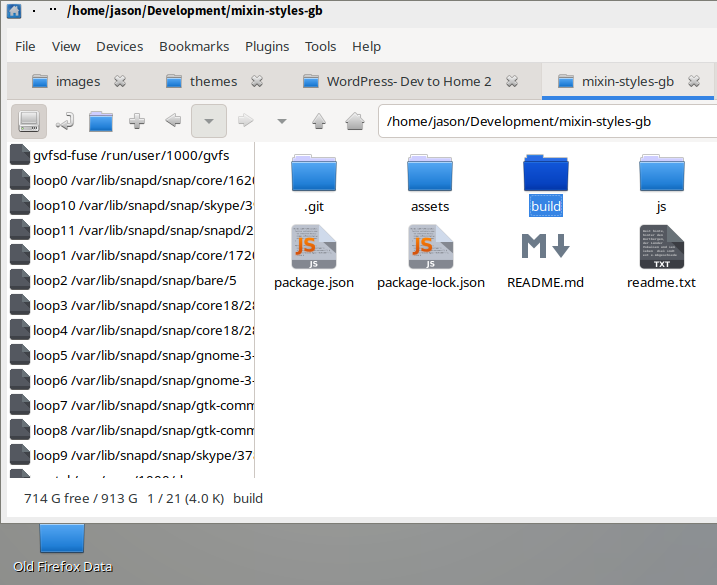
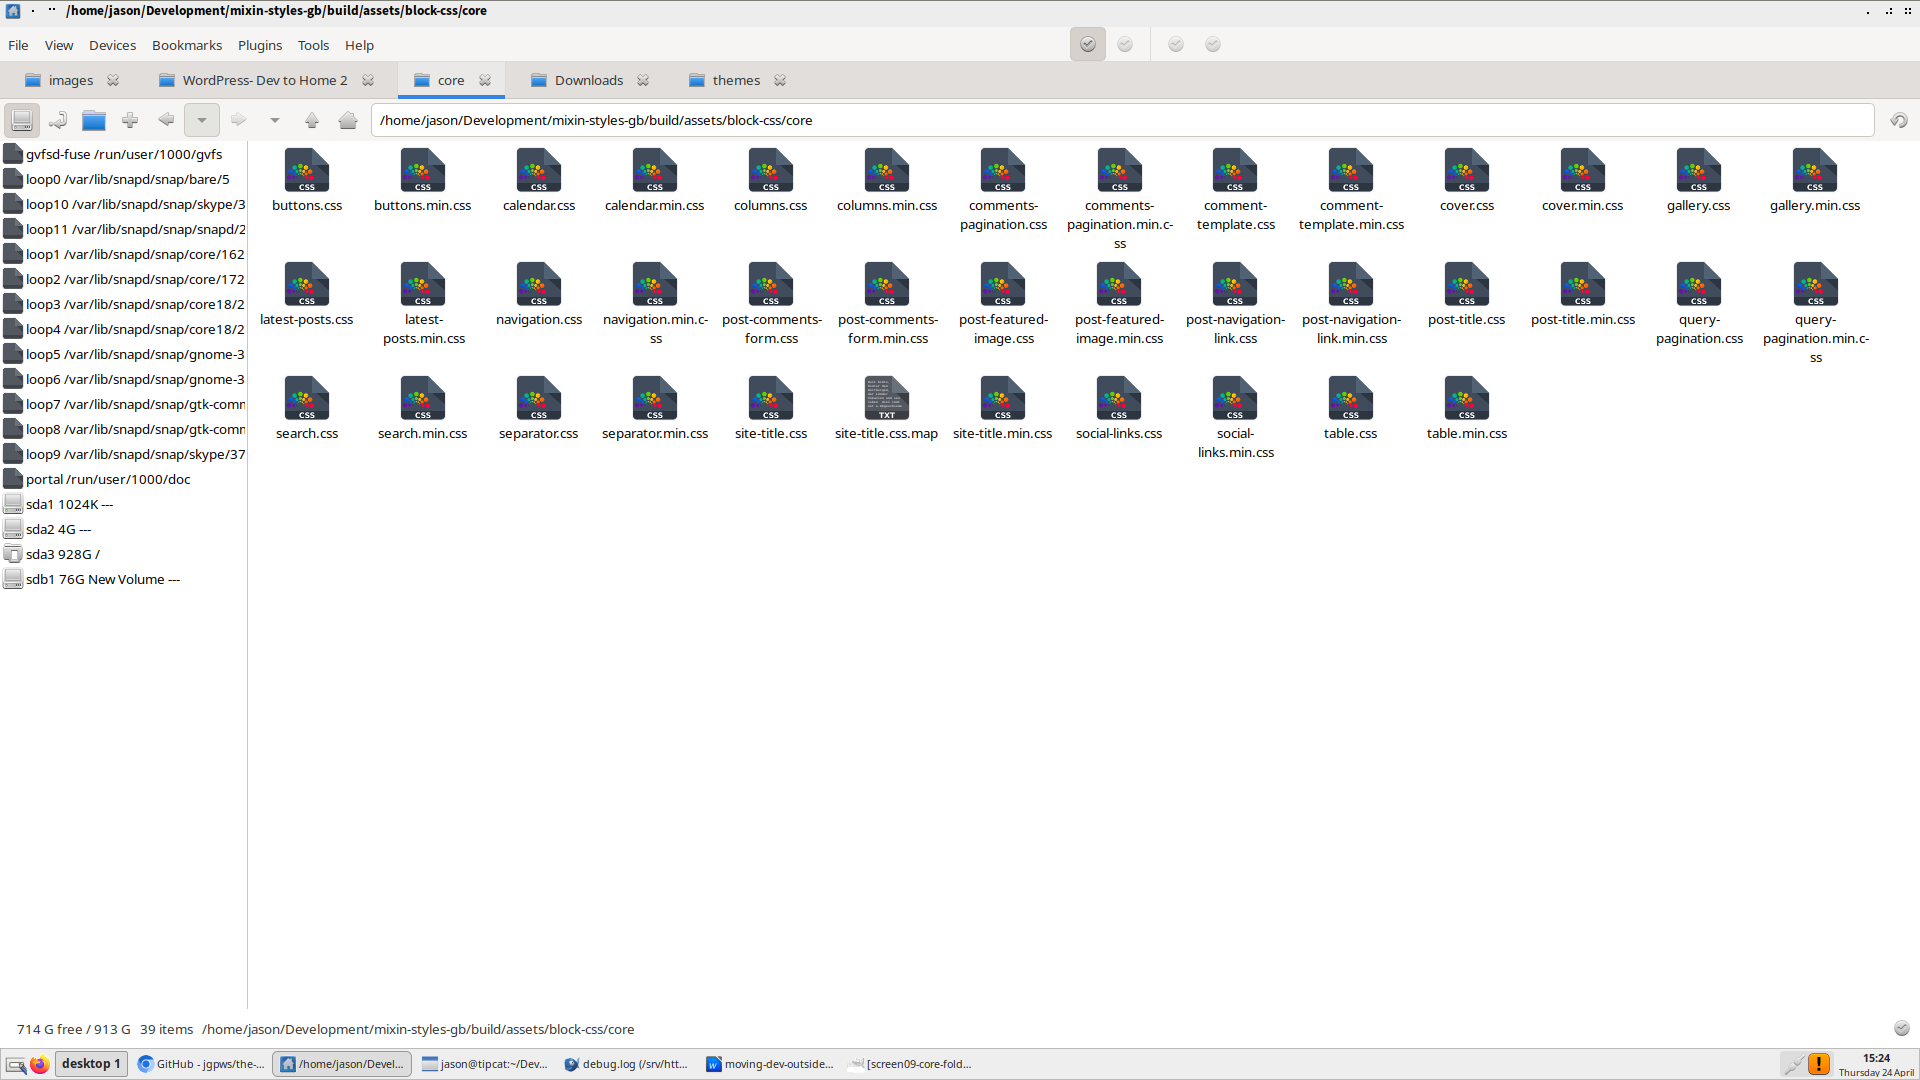
Unlike in part one, we will manually cut and paste all of the files and folders that WordPress should see into the build directory. This includes anything block specific. The new build folder structure for Mixin’ Styles- GB is shown below:
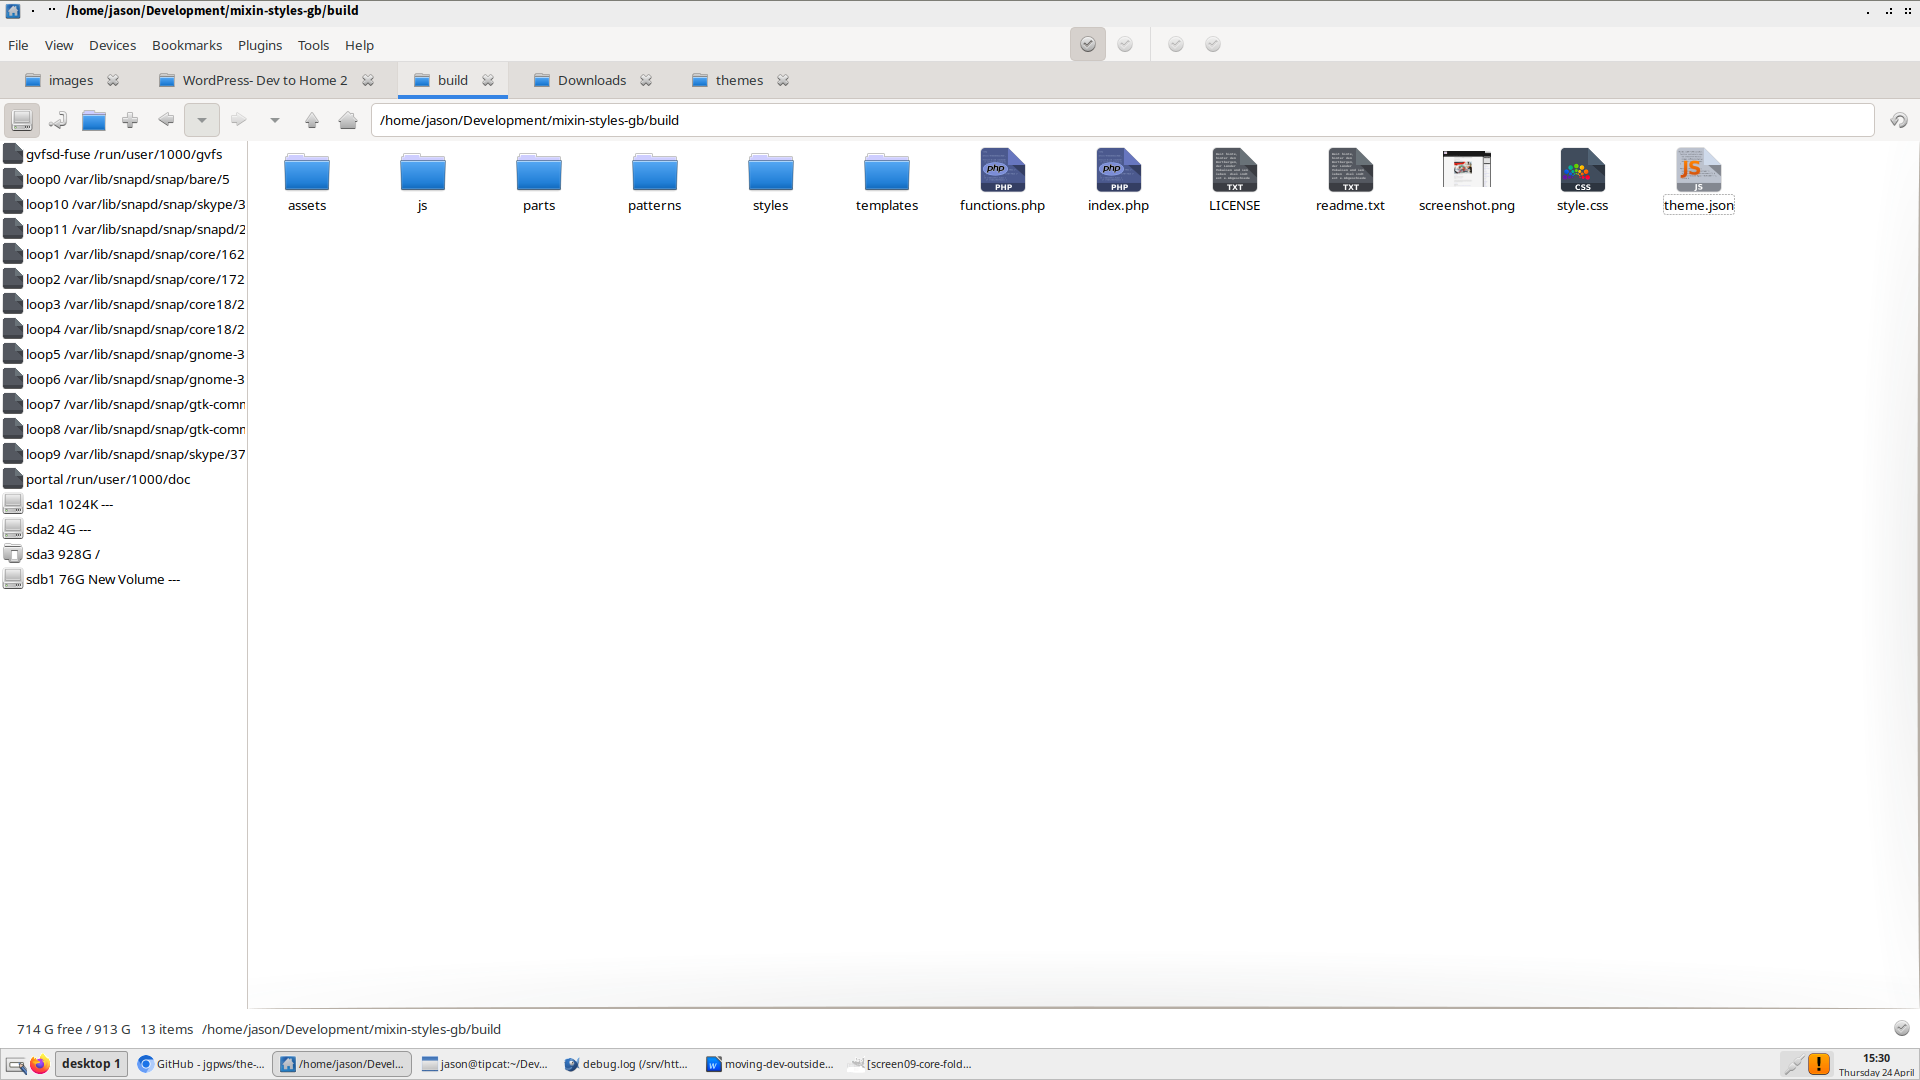
What we didn’t copy over was node_modules, .git, .gitignore, sass and other development related files.
Now, when you refresh the WordPress admin, you should see your theme in the back end. This would be a good time to Activate your theme.

From here, technically we can be done, but let’s fix the theme’s npm scripts to point SASS to the right place and test it out.
Adjusting the Script’s Directory Location
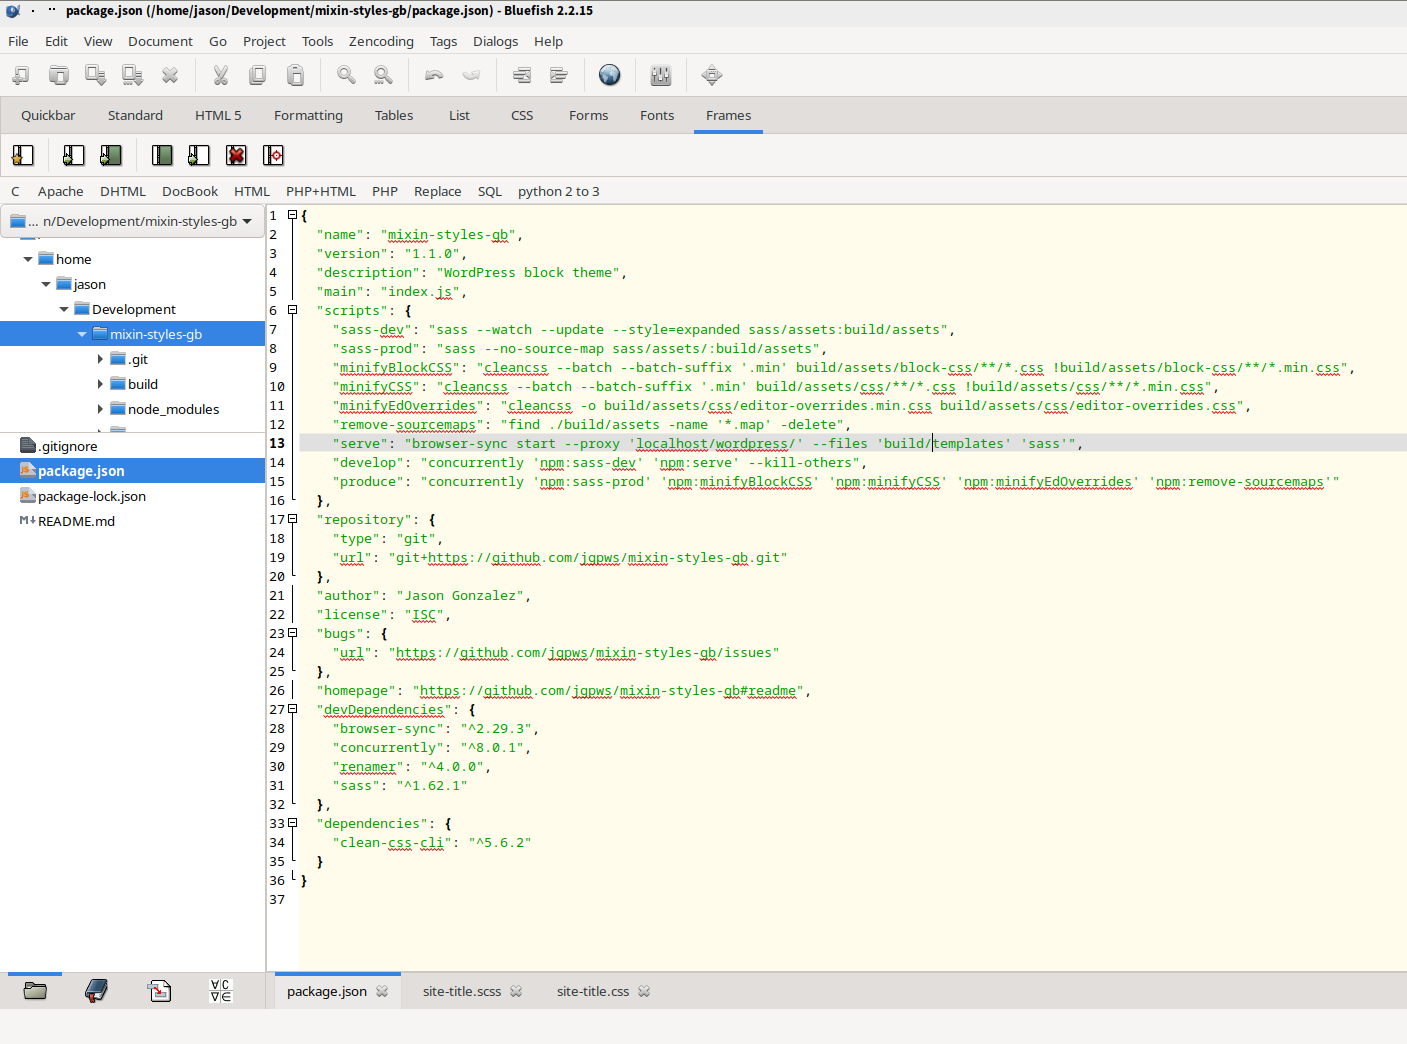
If you are using development tools, your theme might have a package.json file. Mixin’ Styles- GB uses npm scripts to process SASS files, minify CSS, scripts and more. The problem is that the scripts point to the old location instead of the new build folder.
For this example, let’s use the sass-dev script, which looks like the following:
"scripts": {
  "sass-dev": "sass --watch --update --style=expanded sass/assets:assets",
  …
}
We want to adjust it like this:
"scripts": {
  "sass-dev": "sass -–watch --update --style=expanded /sass/assets:build/assets",
  …
}
In this script, the first part before the colon is the directory where our original sass files are, the second one is where the processed files will be sent.
In my theme’s functions.php file, I have a function that separates CSS files for each block and loads only the CSS needed for the blocks currently on the page. For now, SASS processes only these files, found in the build/assets/block-css folder.
Since I have a matching folder in the sass directory, we can completely remove the block-css folder and see if SASS will put this folder and contents in the right place. In your theme, your SASS files might be pointing somewhere else; make sure to adjust accordingly.
From a terminal, run the following from inside your theme’s parent directory:
npm run sass-devYou will see that just running this script populated the folder with the SASS generated CSS files already.
Next, you must adjust the paths for all of your other scripts that previously pointed to the parent folder. Here is the Mixin’ Styles- GB package.json file for reference:
Export your Block Theme
We are finally at the litmus test. We will see if our exported theme will unzip without errors. From within the block theme Editor, click the three vertical dots in the upper right corner.
We exported the theme, but uh-oh! The export came up empty with the same error as before. It turns out this is a permissions issue for the symbolic linked build folder.
This issue may not come up depending on where your WordPress installation is. Mine is installed in the /srv/http folder and my user account has ownership of all files/directories. http, which serves WordPress, is needed as the group account. This may differ depending on operating system or Linux distribution.
Unfortunately, since I am developing on Linux, I can only give instructions for it. For more information on permissions, please see the article WordPress Permissions- How to Set Up Proper Filesystems and Ownerships, by Benjamin Intal at Smashing Magazine.
From within the newly moved theme folder, type the following one line at a time:
cd build
sudo find . -exec chown user:server {} +
sudo find . -type f -exec chmod 664 {} +
sudo find . -type d -exec chmod 775 {} +
In the above commands, replace user with your user account on your computer, and server with WordPress’s server name.
Since it was a permissions issue all along, it is unknown by me whether this issue would still exist if I hadn’t moved the theme to a separate location but did change the permissions. Nonetheless, it is still a good practice to separate your development files from your theme, especially node_modules.
Please let me know if this solved an issue for you and thanks for reading.